
There’s a new crafting craze going around that you might not have heard of; hollow books. A hollowed book is pretty much what you’d expect, a book that’s been hollowed out. But why?
These upcycled books can be used as decorative boxes for things like jewelry, photographs, or small trinkets, or even as an extra special gift box.
But they can also be used as a hidden compartment to stash important objects. Maybe it’s love notes, a spare key, or cash and credit cards that you don’t want lying around in plain sight. Once that hollow book is back on the shelf, no one will ever know what secret lies inside it.
So if you’re a book lover and a crafty cat, making a hollowed out book could be the perfect DIY project to try on a rainy afternoon indoors.
So grab a hardback book you no longer need, and let’s get hollowing!
What You’ll Need
- A hardback book – Obviously, don’t choose an expensive book or anything with sentimental value. Second hand decorative or antique books found at the thrift store are perfect for this project. Remember to consider the size of your book. Go large if you plan on storing a lot of things inside of it.
- An electric drill
- A sharp craft knife
- A sturdy ruler
- A sharpened pencil
- White glue (Elmer’s school glue or similar)
- A small bowl
- An old paintbrush
- Tape
- A plastic bag or plastic wrap
How to Hollow Out a Book

Now that you’ve gathered your supplies, let’s get started.
Step 1. Prep
- Take the first few pages of the book and fold them open to meet the front cover. These are the pages that will remain intact and glue-free. You might choose the first chapter, for example. Keeping a few pages intact allows your book to still look like a regular book, even when it’s first opened.
- Now, carefully wrap the front and inside cover, along with your selected pages, in plastic wrap or a plastic bag. Use the plastic to protect the spine and the back cover too. Be sure to stick on plenty of tape to hold it all in place.
The idea here is to protect these areas from getting covered in glue. (You can also use waxed paper or any material which the glue won’t stick to).
Step 2. Apply the glue to the edges of the book
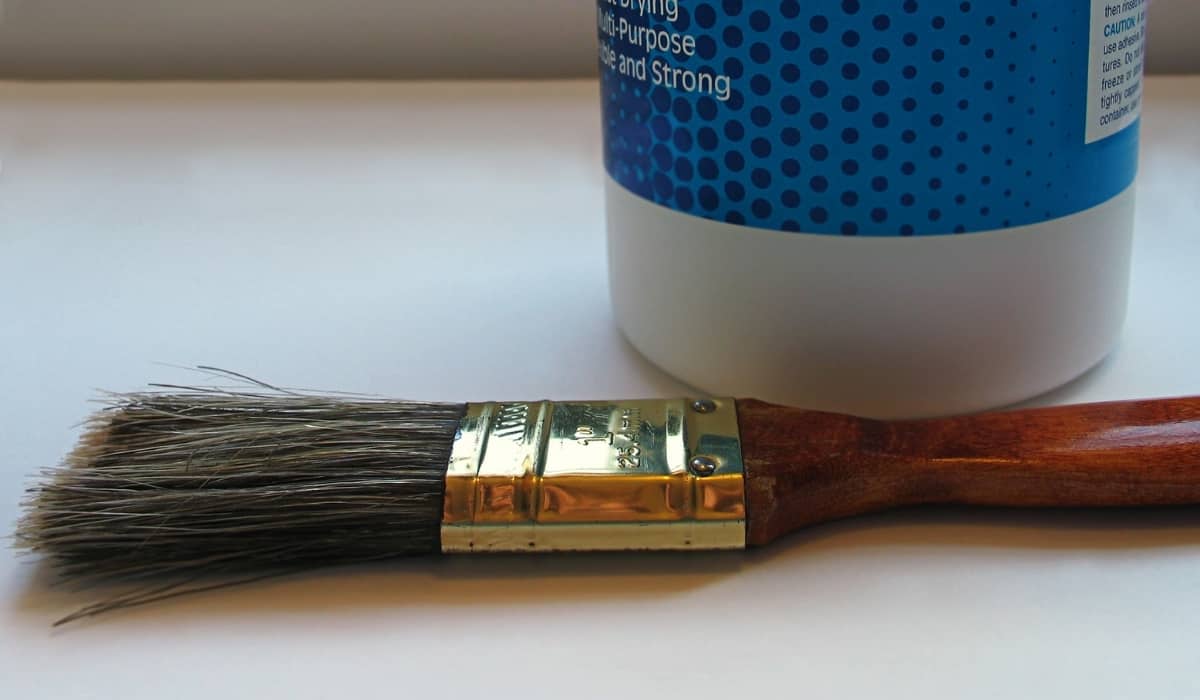
- First, mix the glue with a small amount of water to thin it out slightly so that it’s easier to spread. A good rule of thumb is around 70% glue to 30% water, but it’s not an exact science, and it doesn’t matter if yours is a little thicker or thinning consistency.
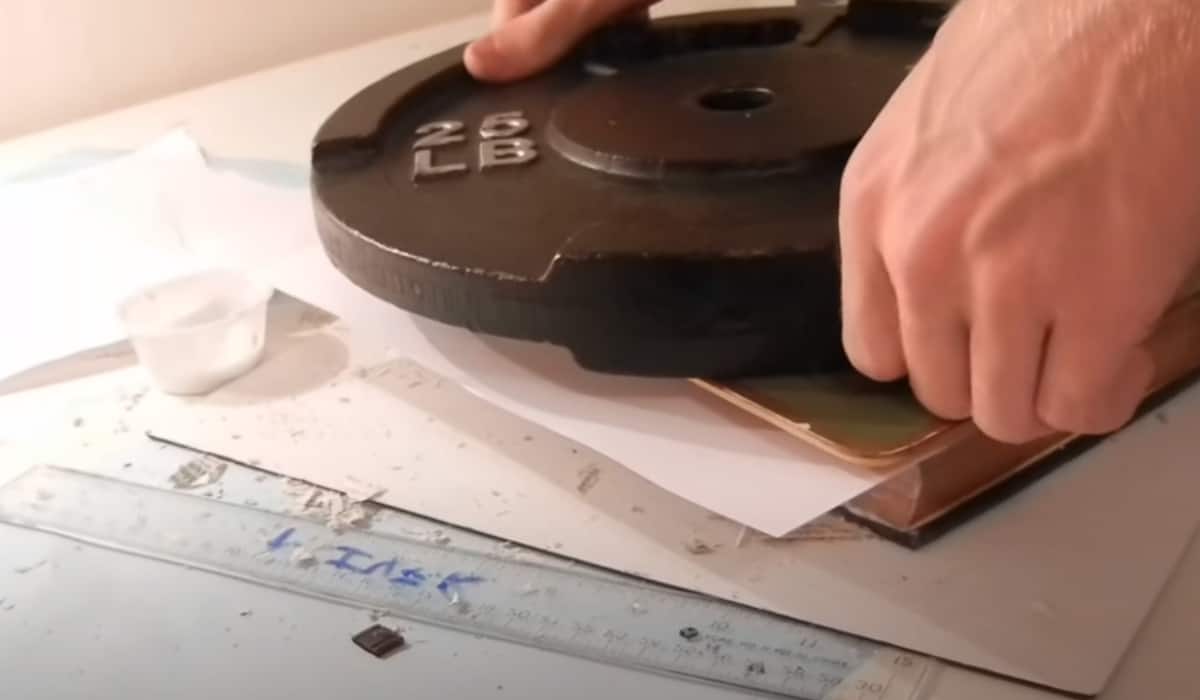
- Using a paintbrush, apply the glue mixture to the book’s exposed edges to bind all of the pages together, forming a solid block. Once you’ve thoroughly coated the edges of the pages, place something heavy on the top of the book and put it to one side to dry before you head in for the second coat.
- Apply three coats of the glue mixture in total. As a good rule of thumb, leave it for around 30 minutes between each coat so that the glue can set. You can use a hairdryer to speed up the process if you’re short on time.
Step 3. Drill the corners
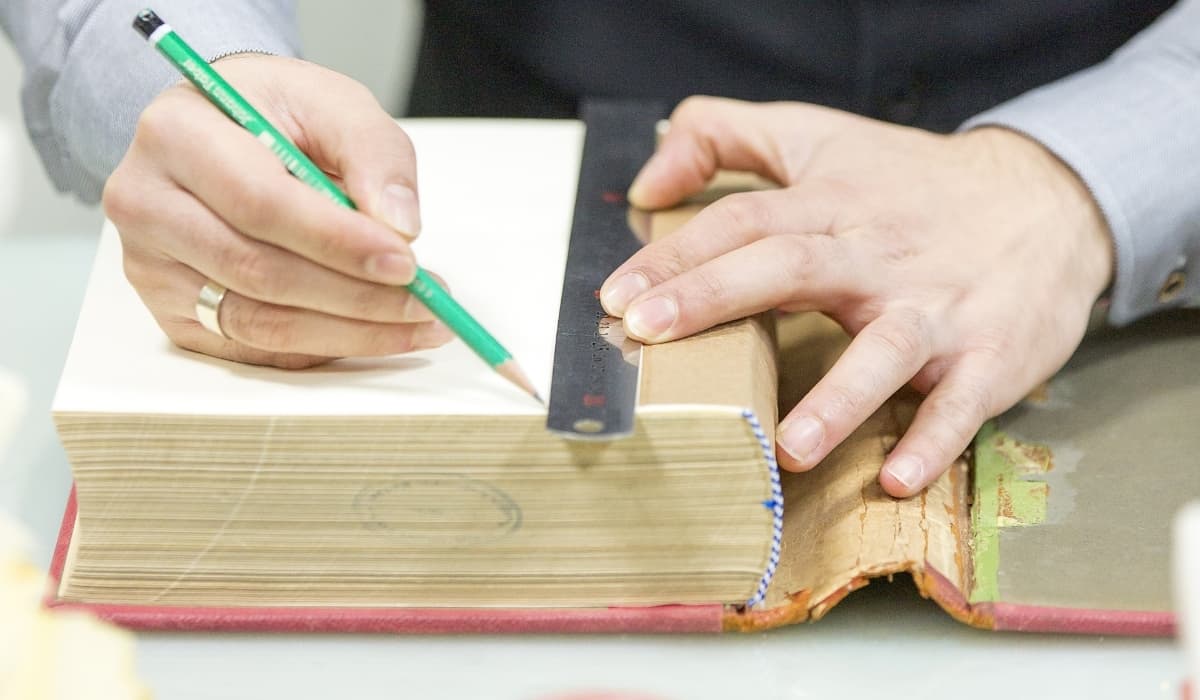
- Once the glue is thoroughly dried, it’s time to get down to business. Open the book and, using your pencil and ruler, draw a rectangular outline of the area you want to hollow out. For stability, avoid making your edges any thinner than about half an inch; otherwise, they’ll be prone to bending and breaking.
- Now, drill a hole in each of the four corners of your drawn-out rectangle (be careful not to drill so deep that you make a hole in the back cover. To be sure, you can mark out the depth you want on your drill with masking tape before you begin).
To make your incisions easier, drill several holes against the inside of each line of the rectangular shape. This speeds up the cutting process.
Step 4. Cut out your hollow
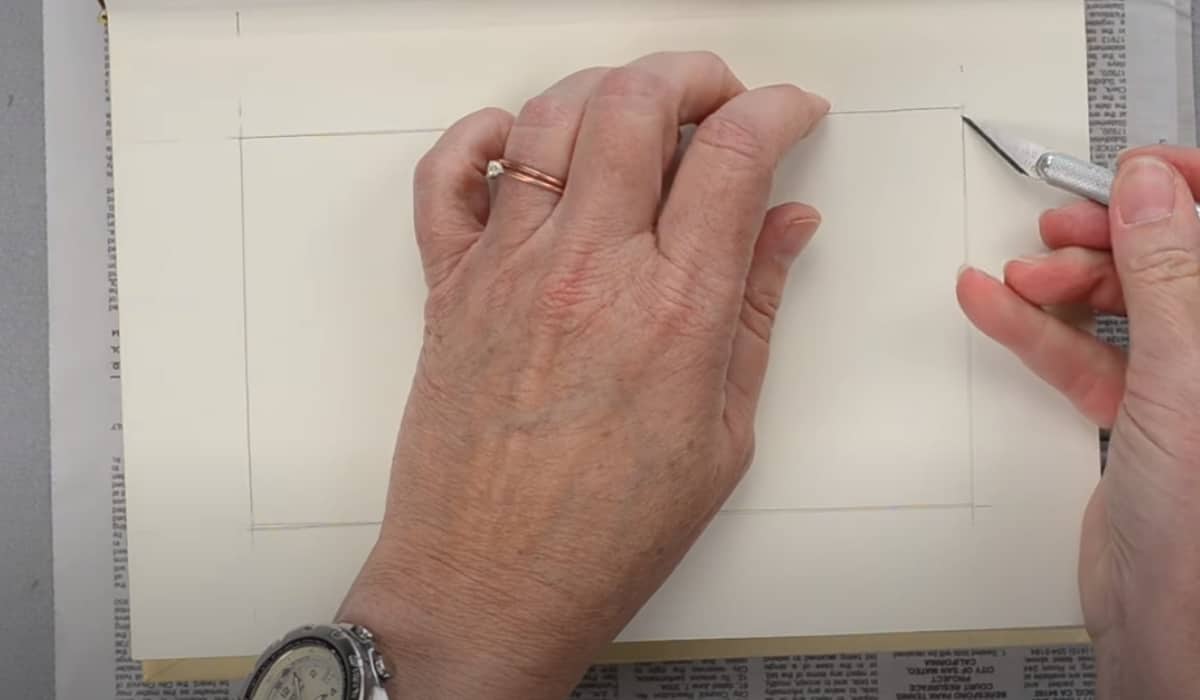
- Using your craft knife and ruler, slice along the inside line of your shape, linking up all the holes you made with the drill. This process can take a while, as no matter how sharp your knife is, you won’t be able to slice more than a few pages in one pass. Apply plenty of pressure, and keep the blade angled downwards to help it glide along and keep it neat.
Step 5. Apply glue to the inside of the hollow
- Apply your glue mixture to the inside edges of your newly hollowed-out book. Just like in Step 2, apply three coats and let each one dry before applying the next.
Step 6. Unwrap your book
- Now, unwrap the plastic bag or plastic wrap you used to protect the rest of the book. Once that’s all gone, carefully paint the top layer of your hollowed edge in one final coat of glue, being careful not to spill any on the exposed pages or the book’s covers.
- Gently close the book, and put something heavy on top of it to weigh it down while the glue dries. Those extra few pages you saved earlier will now cover the hole but don’t worry; we’re going to uncover it once the glue dries.
Step 7. Apply the finishing touches
- Once all the glue is thoroughly dry, open your book back up. There should be one page now glued down and completely covering the hollow. Using your craft knife and ruler, gently score along the edge of your rectangular cavity to cut through and expose the hollow underneath the page.
- If any of the glue is still slightly damp, let the book dry out thoroughly. If you can, leave it out in the sun, or use a hairdryer to speed up the process.
- Finally, use your craft knife to trim off any rough edges and make the finish as neat as possible.
And voila, your hollowed-out book is complete. Now your only task is to figure out what to keep inside of it!
Check out these other great posts!
7 Unique Ways to Wrap a Book for a Gift
How to Start and Run a Book Club? The Ultimate Guide
How (and Why) to Start a Book Blog